
AWS Autoscaling using Launch Template
- Parag
- Mar 11, 2021
- 2 min read

Updated: Jul 29, 2021
Use AWS Auto Scaling to maintain specified number of running instances at all times by using launch template.
Objectives:
Learn to implement AWS Auto Scaling to maintain specified number of running instances at all times.
Learn to create AWS EC2 Launch Template.
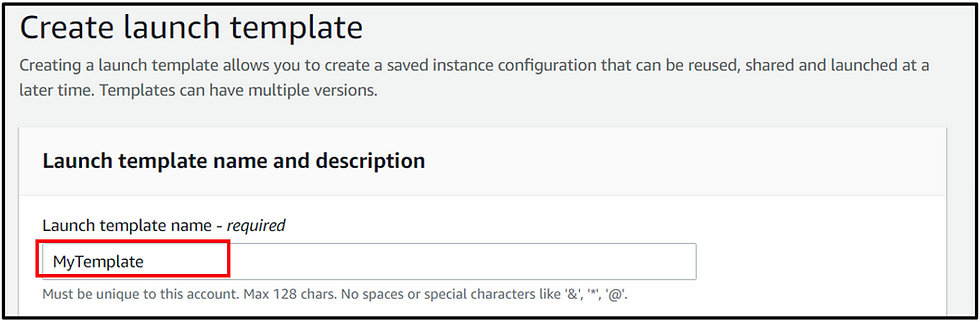
Step 1: In EC2 Service, on the left side panel go to Instances -> Launch Template. Click on Create launch template.

Name the template as MyTemplate.
Select Amazon Machine Image (AMI): Amazon Linux 2 AMI (HVM)
Select Instance Type as t2.micro
Select you existing Key Pair

In Network Settings select the Security Group that is created for Linux Server. Keep the rest default values as it is.

Scroll down and click on Create Launch Template. Your Template is successfully created.

Click on View launch templates at the bottom of new page and check whether it is created.

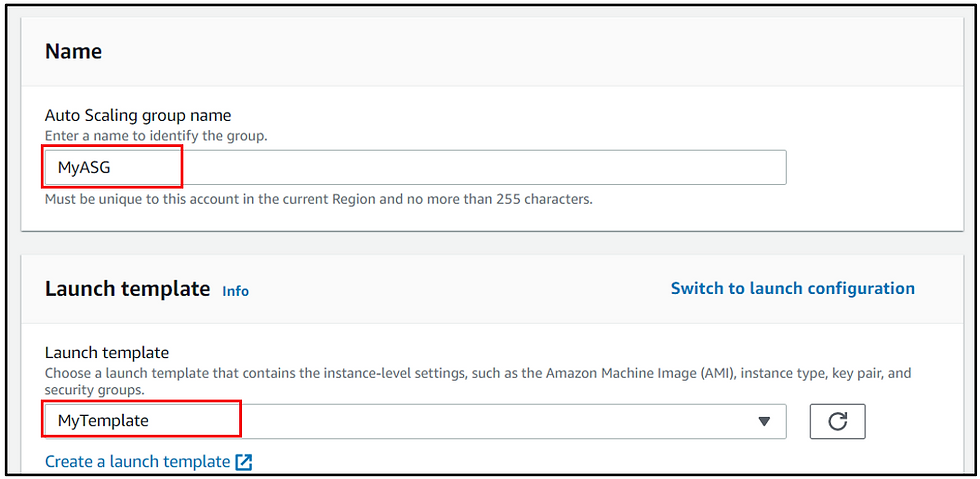
Step 2: Now on the left side panel go to Auto Scaling -> Auto Scaling Groups. Click on Create an Auto Scaling group.
Name it as MyASG. Select the above created launch template MyTemplate.
Keep the rest default values as it is. Click on Next in bottom right corner.
In Configure Settings, under Network click on the drop down arrow and select two subnets one at a time.

Keep the rest default values as it is. Click on Next in bottom right corner.
In configure advanced options keep the default values as it is. Click on Next in bottom right corner.
Under Configure group size and scaling policies, go to Group size and configure the values as:
Desired Capacity: 2
Minimum Capacity: 2
Maximum Capacity: 2

Keep the rest default values as it is. Click on Next in bottom right corner.
Do not add any notifications. Click on Next in bottom right corner.
In Add Tags step, provide the following:
Key: Name
Value: EC2forASG

Click on Next in bottom right corner.
Review your auto scaling group. After review, scroll down and click on Create Auto Scaling group.

Your Auto Scaling group is successfully created. Check whether it is created.

The status would be initially Updating Capacity. This means that the given capacity is checked. The instances are being initiated or terminated accordingly.
With Auto Scaling Group you can monitor with use of these features. Thus you can have better control created instances and the system.

Step 3: On the left side panel go to Instances -> View Instances. Here you can see the working of Auto Scaling group to the specified capacity.

Step 4: Terminate one of the newly created instances. Wait for further 2 minutes. The Auto Scaling group acknowledges this termination and initiates one more instance to maintain the configured capacity.

Note: Delete the Template and the Auto Scaling Group if you do not need it anymore. This will also delete the instances created through the Auto Scaling Group.
Was this document helpful? How can we make this document better. Please provide your insights. You can download PDF version for reference.


useful blog
Useful !
Really useful!
Helpful
Helpful